about
10/31/2024
Help: Rust Cargo
Help: Rust Cargo
development tools for Rust: cargo, clippy, fmt, doc
About
click header to toggle Rust Explorer
Synopsis:
1.0 Cargo Package Manager
-
cargo new mypkg
Create directory with cargo.toml file and src directory -
cargo run
Build and execute binary created from src::main.rs -
cargo test
Run unit tests associated with src::lib.rs -
cargo run --example test1
Execute examples::test1.rs built with src::lib.rs -
cargo clippy
Evaluate package's code style and complexity -
cargo fmt
Reformat local source code files according to Rust community accepted rules.
Cargo Commands
| Cargo Command | Action |
|---|---|
| Selection of frequently used cargo commands and options. To see all: use cargo help | |
| new |
Create a new package in a new folder. Folder contains cargo.toml file and src directory.
syntax: cargo new name [options] [path] options: --bin, --lib, --name, (-v, --verbose), (-q, --quiet), (-h, --help) example: cargo new mypkg --bin Creates new package in subdirectory mypkg. src contains code for hello world executable. |
| init |
Create a new package in an existing folder. Folder contains cargo.toml file and src directory.
syntax: cargo init name [options] [path] options: --bin, --lib, --name, (-v, --verbose), (-q, --quiet), (-h, --help) example: cargo init mypkg --lib Creates new package in existing subdirectory mypkg. src contains code for library. |
| build, b |
Compile local packages and all their dependencies that have changed since last build.
syntax: cargo build [options] options: (-d, --debug), (-r, --release), --example name, (-v, --verbose), (-q, --quiet) example: cargo build --example test1 Builds test1.rs in examples subdirectory (sibling of src) |
| check, c | Same as build but omits code generation. |
| run, r |
Build local packages and their dependencies that have changed since last build and execute bin file.
syntax: cargo run [options] [--args] options: (-d, --debug), (-r, --release), --example name, (-v, --verbose), (-q, --quiet) example: cargo run Builds main.rs in src subdirectory and its dependencies, and runs binary example: cargo run --example test1 Builds lib.rs and its dependencies in src subdirectory, test1.rs in examples subdirectory (sibling of src) and runs binary |
| test, t |
Execute package unit, integration, and documentation tests.
syntax: cargo test [testname] [--test-options] options: Use cargo help test example: cargo test |
| clean |
Remove build products
syntax: cargo clean [options] options: Use cargo help clean |
| doc, d |
Build documentation for local package and all dependencies.
syntax: cargo doc [options] options: Use cargo help doc |
| clippy |
Style and complexity checker. Guidance to write idiomatic code.
syntax: cargo clippy [options] options: Use cargo help clippy |
| fmt |
Runs rustfmt on all bin and lib files in current package.
syntax: cargo fmt common option: create rustfmt.toml file with tab_spaces = 2 to change indent width |
2.0 Rust Development Process using Cargo:
| Topic | Rust |
|---|---|
| Installation |
Rust: cargo, rustc, clippy
Download Rust.
That includes rustc - the rust compiler, cargo - a package manager, and other tools like clippy. This works for Windows and Linux.
Install Rust pluggin, RLS, from the pluggin dropdown in VSCode's left menu bar. That supports
intellisence and debugging. If you have any problems with that, this tutorial may help:
VSCode with Rust.
|
|
Work Flow
[ Example: Bin Project ].

[ Example: Lib Project ].

|
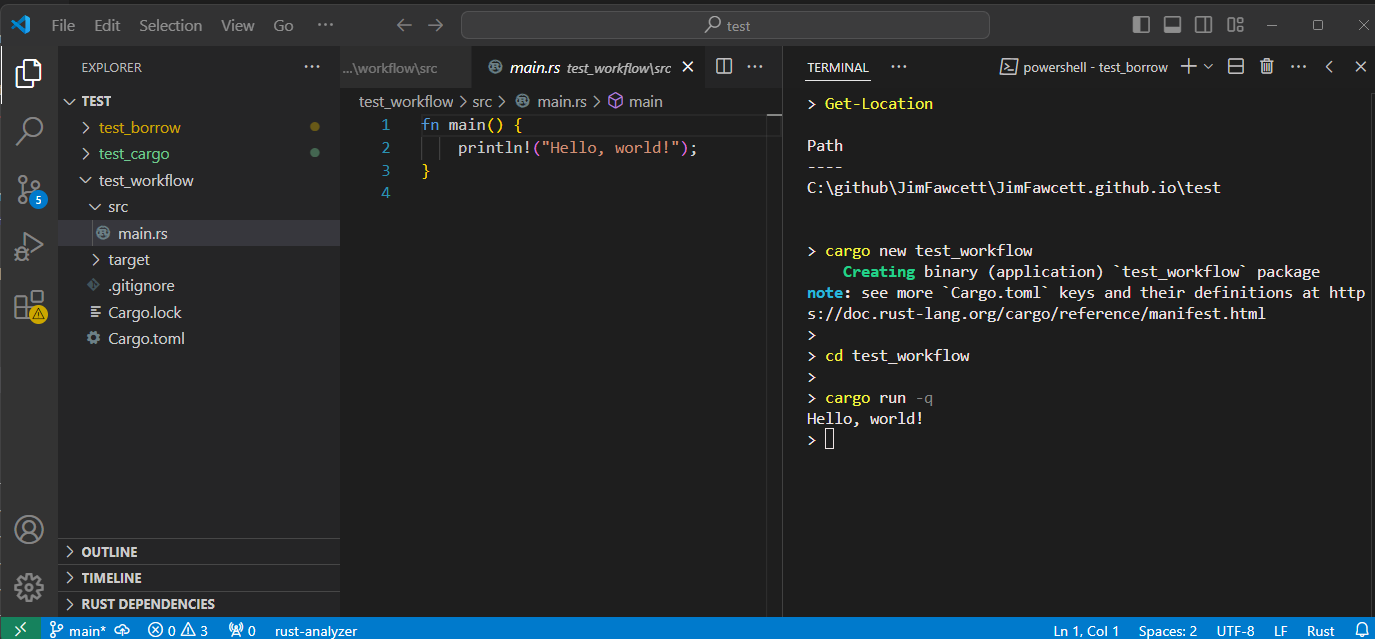
Creating Projects:
In VS Code, open the parent folder where you want to create a new Rust project.
You create a binary project with the terminal command:
That's why the new command ends with --name test_pkg. If you don't use a snake_case name
you will repeatedly get warnings about naming formats.
Now you can open the new folder from the File menu and run or start debugging. when you don't
need to debug just issue the command:
You create a library with the terminal command:
cargo builds the library starter code with test fixtures for unit tests. Once you have some
library code and corresponding tests, you run tests with the terminal command:
If you manually create an /examples folder as a sibling to the /src folder, you can put
demonstration code that uses the library and displays results on the termianl. To do that
use the command:
|
| Building Applications |
|
| Checking code style with clippy | Coming soon |
| Formatting code with fmt | Coming soon |
| Building documentation with doc | Coming soon |